Using OKiRACOON
How to rent the device
-
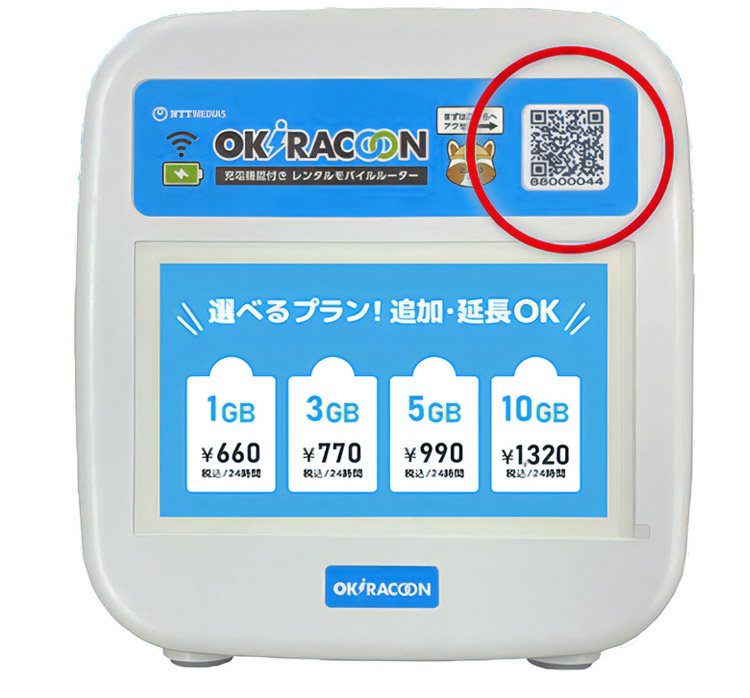
1Access the member site
Scan the QR code displayed on the top of the OKiSTAND or access the member site from here.
-
2Apply
If it's your first time, please register as a new member. Enter your personal information, agree to the handling of personal information, and receive an email.

-
3Completion of registration
Tap the received URL to complete the registration. No registration is required from the second time.
Re-login and tap the "Apply here" button on the member site.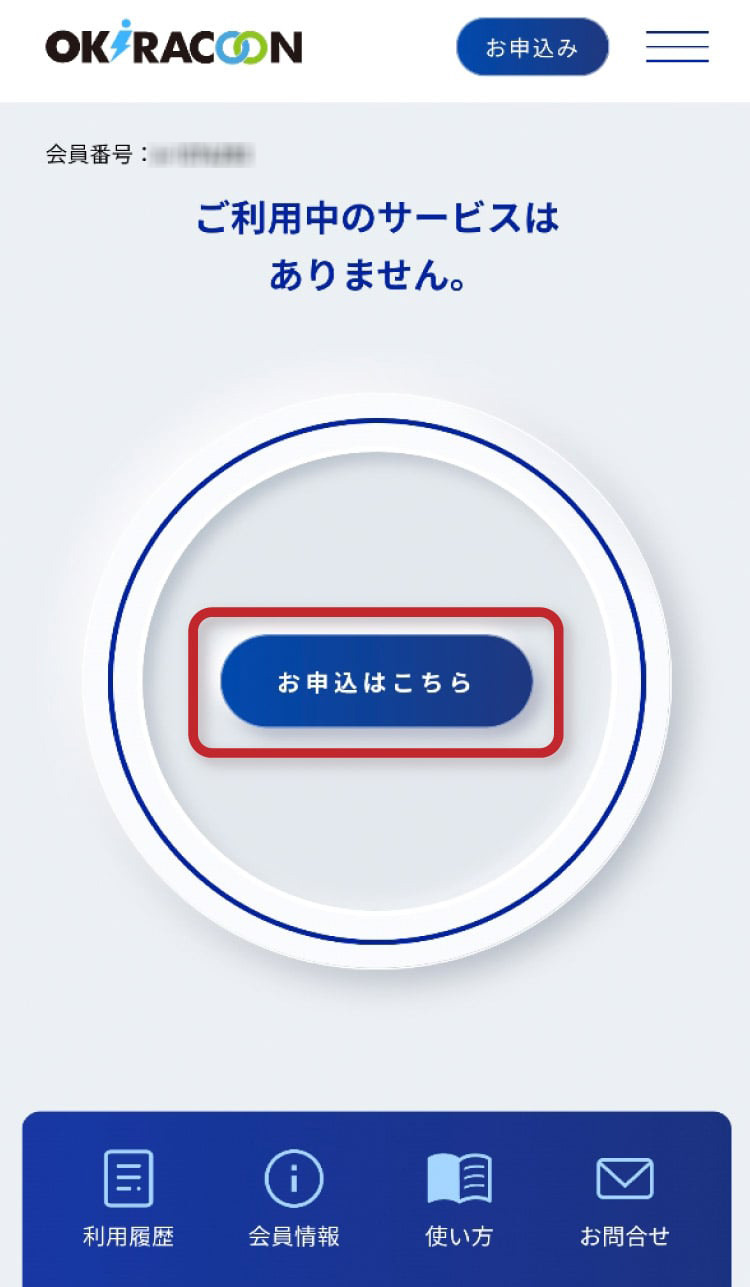
-
4Choose a plan
Confirm the display of the "Pickup location*" and select the plan.
*If the displayed pickup location is incorrect, please read the QR code displayed on the top of the OKiSTAND again.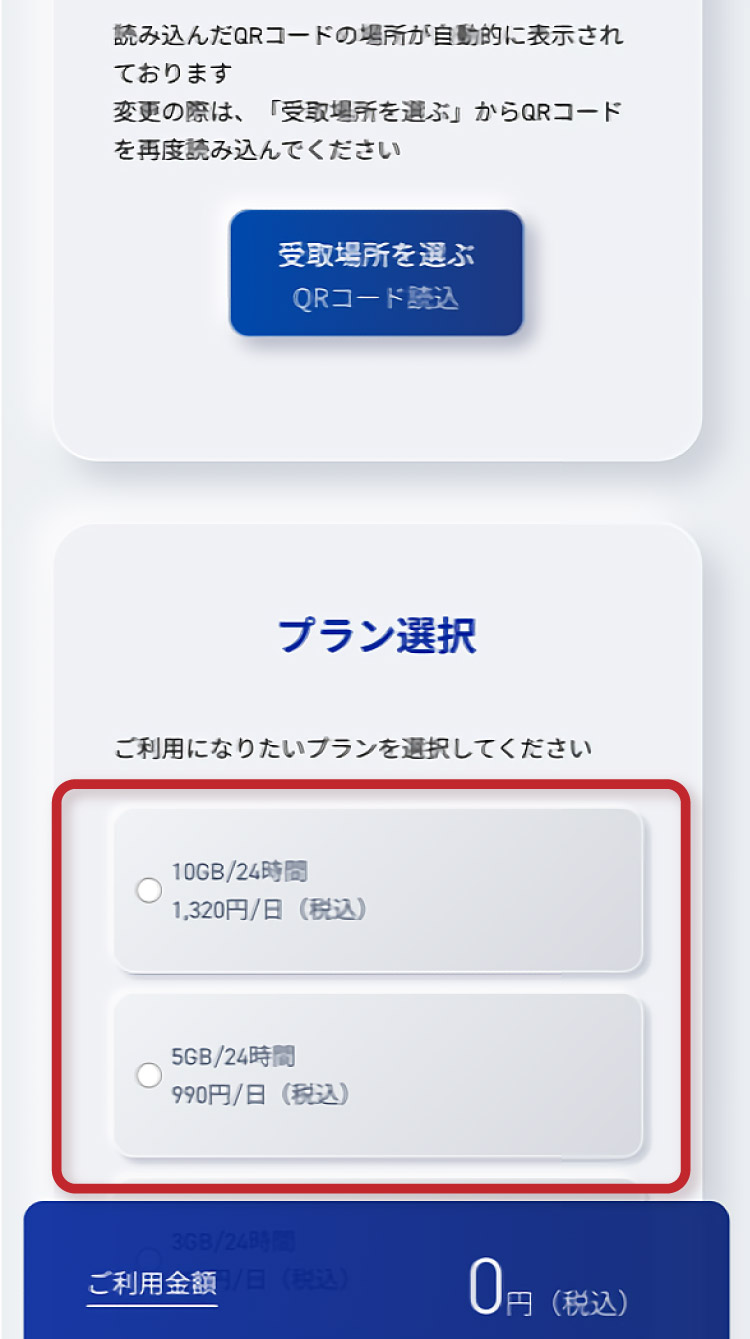
-
5Enter credit card information
"Enter your credit card information (From the second time, you can select previously registered card information).
After confirming your application details, tap ""Apply"" to complete."
Then, use the pop-up OKiROUTER.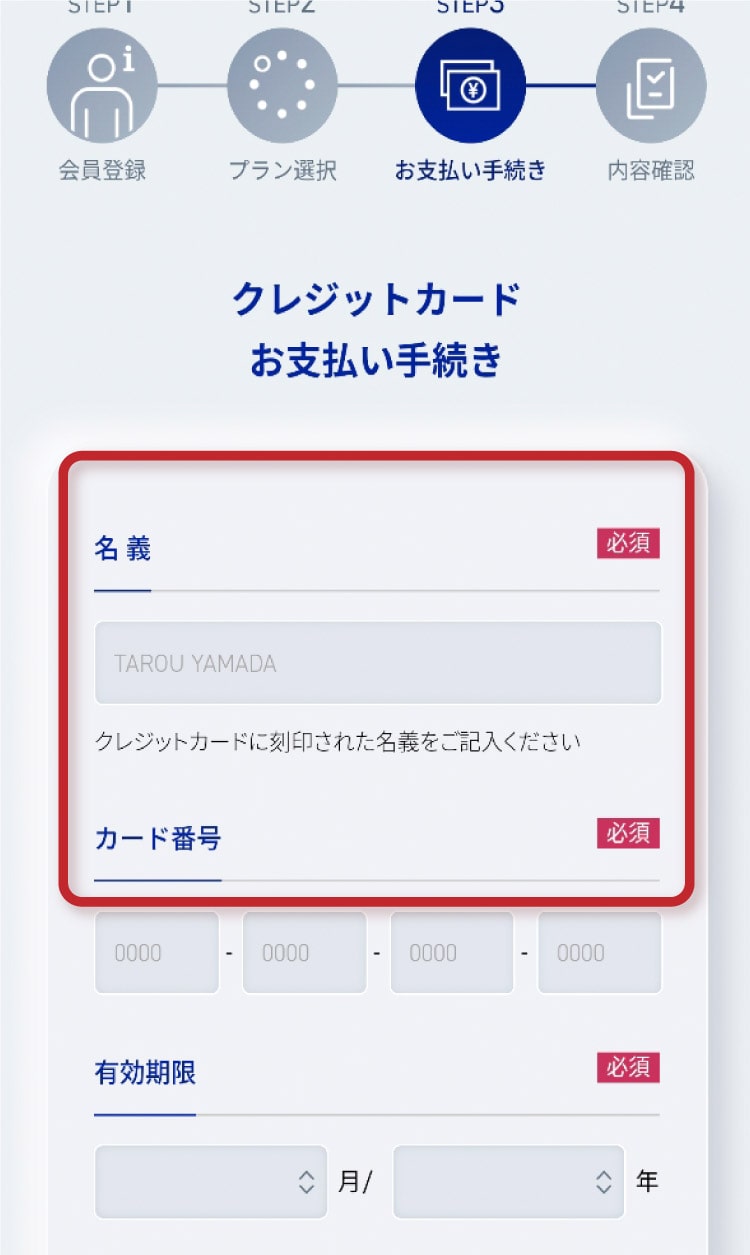
How to return the device
-
1Return method
Check the direction in which the LED lamp is facing upward and insert the OKiROUTER into an empty slot on the OKiSTAND until it clicks.

-
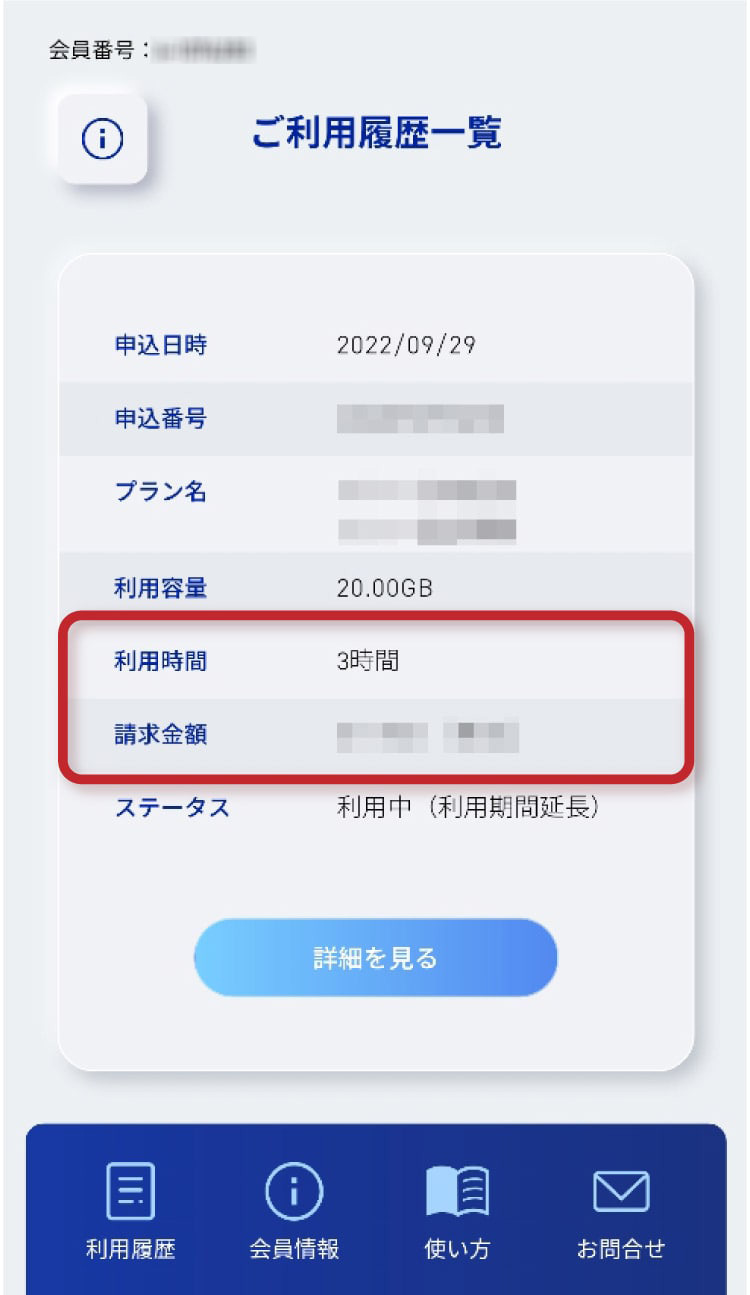
2Completion of return
Once the return is complete, the return time and usage amount will be displayed on the "Usage history" on the member site and in the "Notification of OKiRACOON Return Completion (Email)." Please confirm.
-
Notes on return
- ・Make sure that the built-in cable of the OKiROUTER is properly stored without twisting (it can cause a slot jam).
- ・Ensure the battery lamp is facing upwards when inserting the device into the OkiSTAND; the device can be inserted in either orientation as long as the lamp is facing up.
- ・Please return the device with ample time to spare. (Return processing involves the network, so it may take several seconds to tens of seconds from inserting the battery to the actual processing completion).
How to set up Wi-Fi connection
-
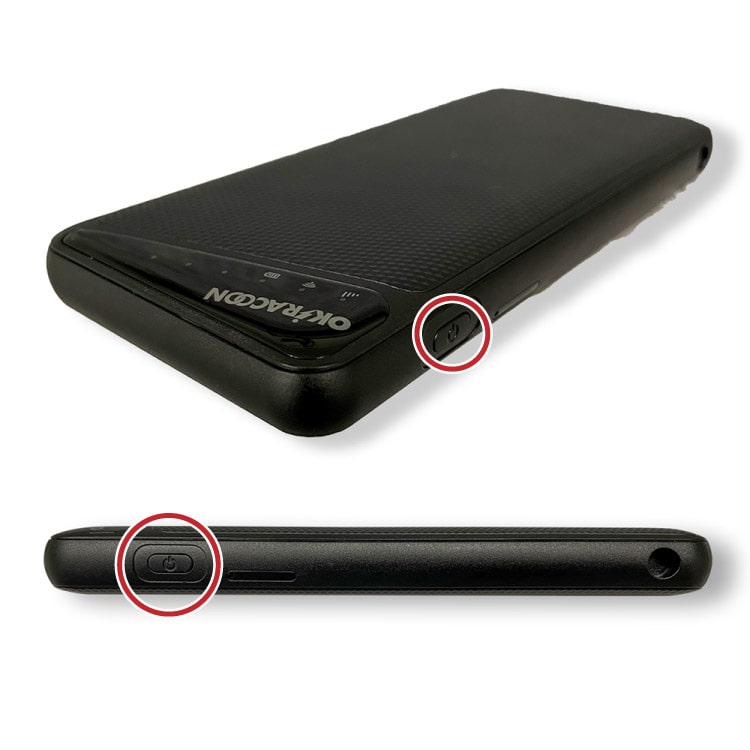
1Turn the power ON.
Hold down the power button and wait until the green or yellow LED lamp lights up. It takes time for the connection to become available.
-
2Check SSID and password
The SSID and password are written below the 2D barcode on the device. Turn on Wi-Fi on your device and set it up. You can connect up to 5 devices.
*Please note that if the device is not in use, it will turn itself off after approximately an hour.
Important *For smartphone and tablet users, be sure to turn OFF data roaming function. If left ON, communication may occur automatically, and high packet charges may be incurred.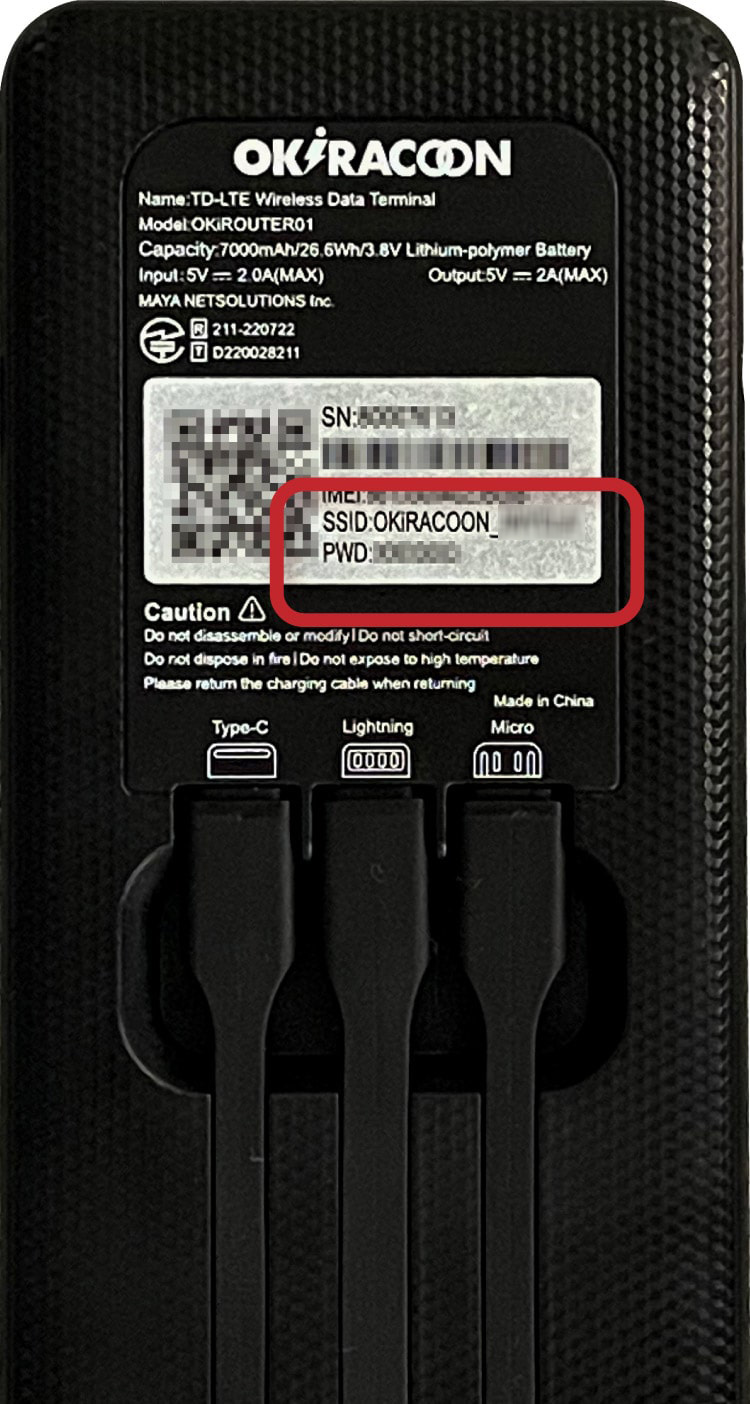
-
3Connect to the internet
Scan the QR code to the left of the SSID and PWD and select "Connect to network," or select the corresponding SSID displayed on the Wi-Fi settings screen and enter the password to connect.
- For iOS users
- For Android users
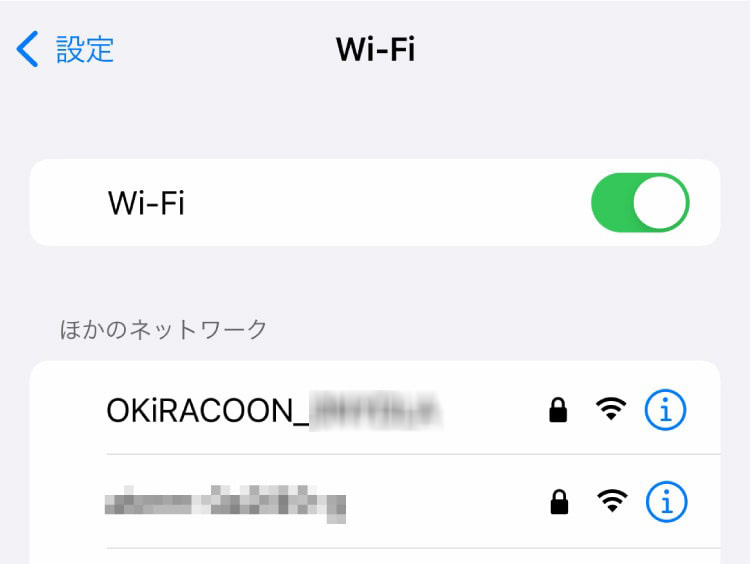
For iPhone, iPod touch, and iPad users
- 1.Turn on "Wi-Fi" in the "Settings" screen.
- 2.When the list of wireless networks is displayed, select the SSID written on the back of the OKiROUTER.
- 3. Enter the PSW written on the back of the OKiROUTER in the "Password" field.
- 4.Tap "Join" (a "
 " mark will appear next to the "SSID" when connected).
For Android users
- 1.Select "Network and Internet" in the "Settings" screen and turn on "Wi-Fi".
- 2.When the list of wireless networks is displayed, select the SSID written on the back of the OKiROUTER.
- 3.Enter the PSW written on the back of the OKiROUTER in the "Password" field.
- 4.Tap "Connection"

How to apply for rental period extension
and additional data capacity
-
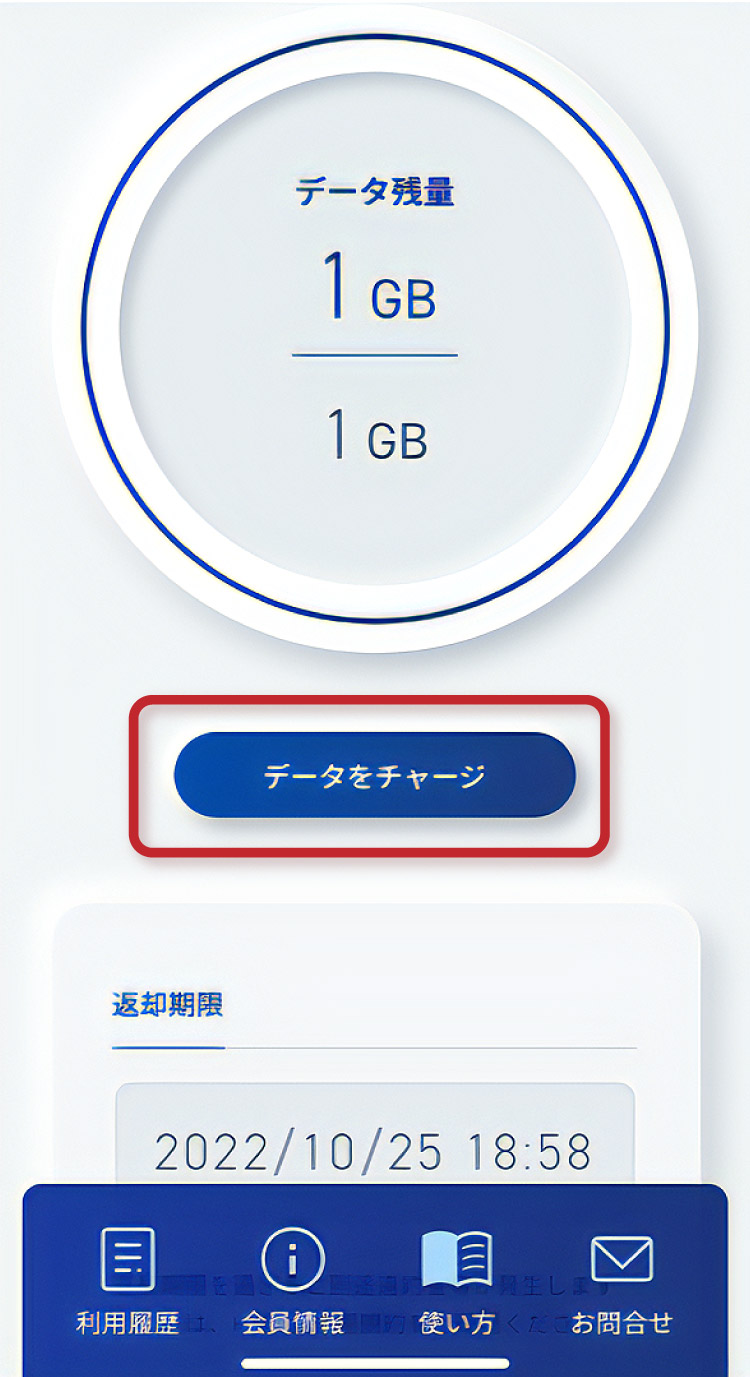
1Access the member site
Access the member site and tap "Charge Data" or "Extend Period" on the top page.
-
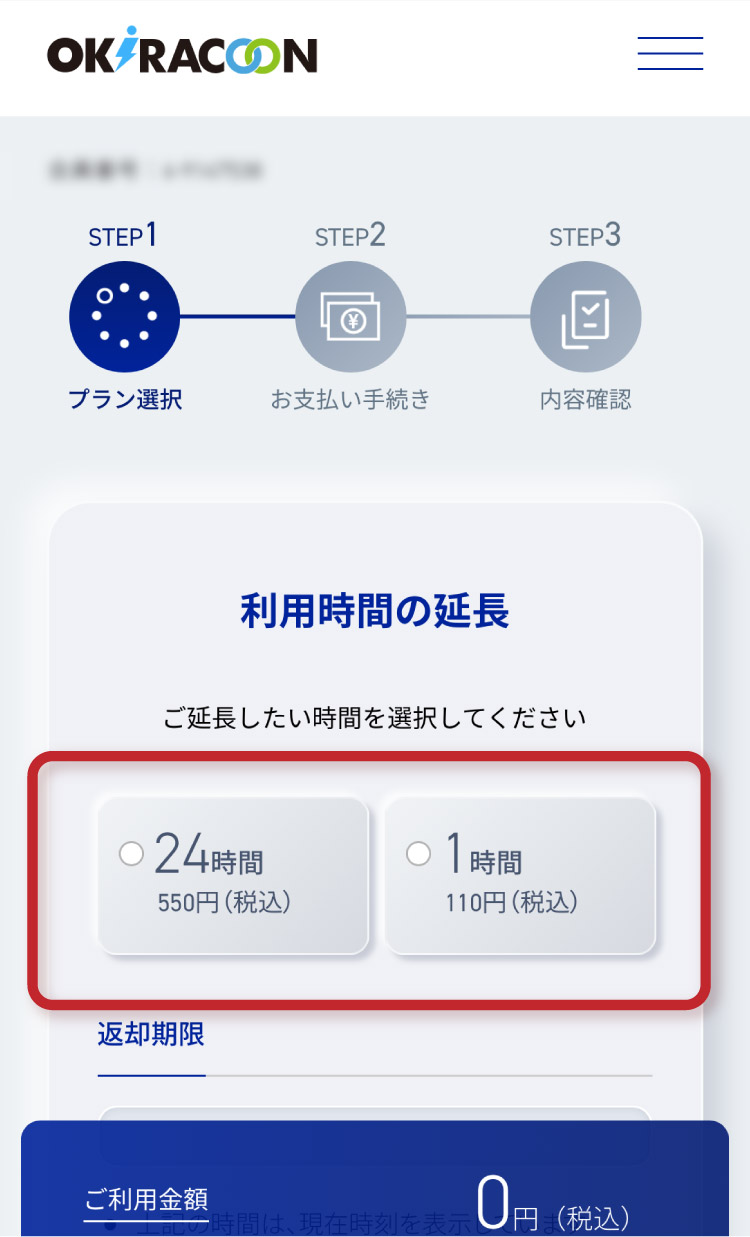
2Select capacity or extension time
Choose the additional capacity or extension time you want to add.
-
3Confirm application details
After confirming your application details, select the credit card information to be used for payment and tap "Apply" to complete the payment process.
*Please note that this procedures cannot be made after the return deadline.